


Algeth'ar Academy Dungeon Guide: Location, Boss Strategies, Trash, and Loot
Algeth'ar Academy Dungeon Guide: Location, Boss Strategies, Trash, and Loot
Getting into Algeth’ar Academy
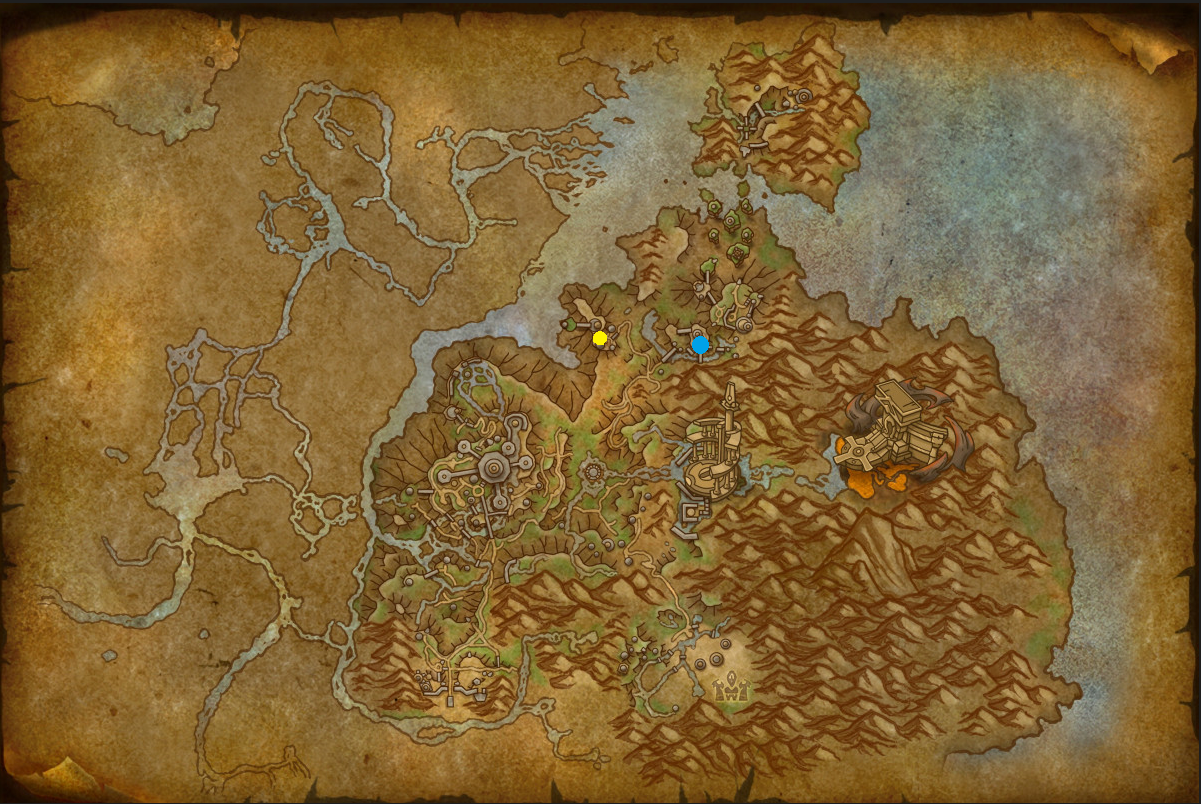
Situated in the newly added area of Thaldraszus within the Dragon Isles, Algeth’ar Academy is a dungeon with a difficulty level of 70. The flight point closest to the dungeon entrance is Algeth’era in Thaldraszus, accessible to both Horde and Alliance players. After arriving, simply head east for a brief distance to locate the dungeon entrance.
In the following guide, we will present a comprehensive overview of Algeth’ar Academy. This guide aims to equip you with essential information to successfully navigate the dungeon across all difficulty levels, including Normal, Heroic, and Mythic. We will delve into all four boss encounters and highlight the significant abilities of the trash enemies in the dungeon. If you’re interested in learning about other Dragonflight Dungeons or the upcoming Mythic+ season
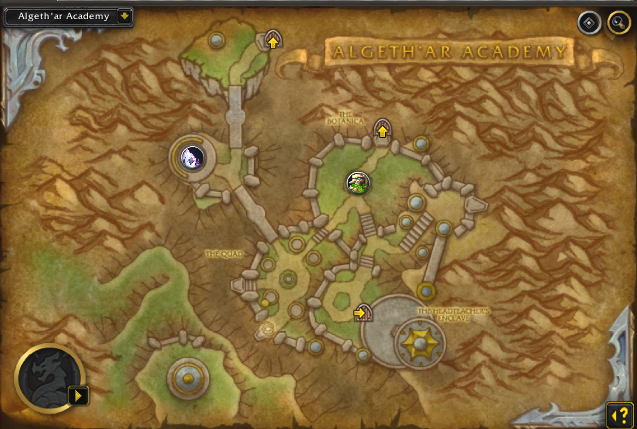
Algeth’ar Academy Layout
Dungeon Bonuses and How to Obtain them
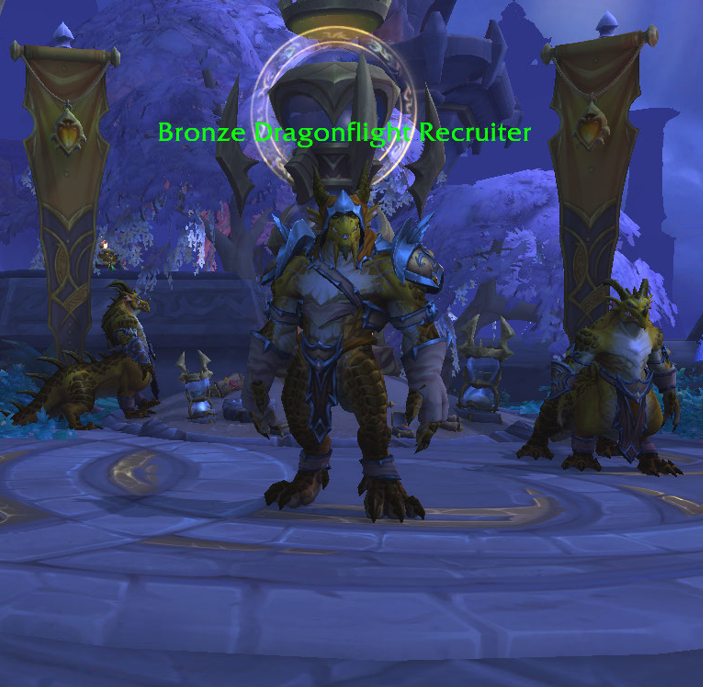
As soon as you step into the dungeon, you’ll descend an invisible bridge and arrive at the Quad area. Here, you’ll encounter five Dragonflight Recruiters, each offering a distinct buff that will last throughout the entire dungeon. It’s essential to choose carefully, as you can only select one of the five recruiters!


Here is a more detailed overview of what buffs the recruiters offer:
- Bronze Dragonflight Recruiter will grant you the
 Bronze Dragonflight Pledge Pin buff, giving you 5% Haste.
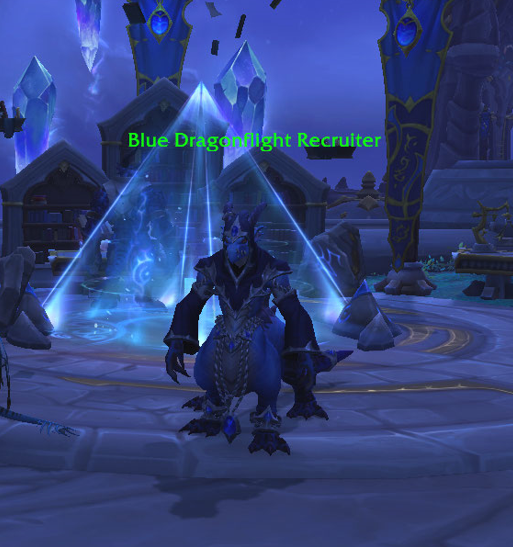
 - Blue Dragonflight Recruiter will grant you the
 Blue Dragonflight Pledge Pin buff, giving you Mastery Rating.
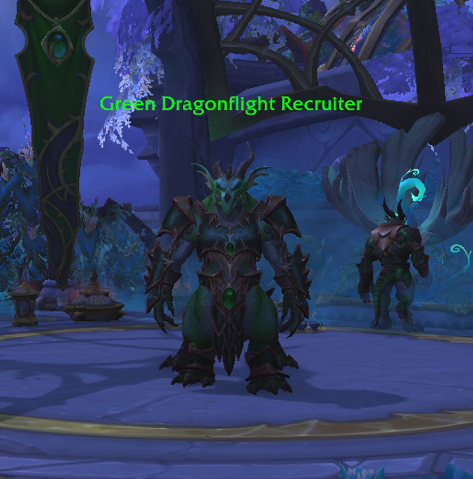
 - Green Dragonflight Recruiter will grant you the
 Green Dragonflight Pledge Pin buff, giving you 10% increased healing received.
 - Red Dragonflight Recruiter will grant you the
 Red Dragonflight Pledge Pin buff, giving you 5% Versatility.
 - And last but not least, Black Dragonflight Recruiter will grant you the
 Black Dragonflight Pledge Pin buff, giving you 5% Critical Strike.
Boss Order in Algeth’ar Academy
Algeth’ar Academy offers complete flexibility to choose the order of the boss encounters. However, it’s worth noting that you must defeat the preceding three bosses, namely Overgrown Ancient, Crawth, and Vexamus, before unlocking Echo of Doragosa. Below, you’ll find our suggested order of boss encounters. Our personal recommendation is as follows:
The Botanica and Overgrown Ancient
Notable Trash Before Overgrown Ancient
Located to the right of The Quad, up the staircase, you’ll come across The Botanica area, where the Overgrown Ancient boss awaits. This boss will remain dormant until you’ve eliminated all Vile Lashers and Hungry Lashers in the area. Check out the following details on these creatures:
- Vile Lasher has only one ability to pay attention to and that is the
 Detonation Seeds ground effect. If you get hit by them you will get disoriented, so watch out!
 - In every pack where a Vile Lasher is present, you will find a dozen Hungry Lasher. They do not do anything except auto-attack.
- Finally, the most dangerous non-boss-enemy in this dungeon: Aggravated Skitterfly. Not only do they do high damage with their instant
 Darting Stings while charging at players, but they will occasionally cast
  Agitation, a stackable
  Enrage effect that will increase their damage done. Use cooldowns and kill them at all costs.
Overgrown Ancient Boss Guide

During the fight with Overgrown Ancient, keep an eye on the boss’s Energy meter, as it will start casting Burst Forth once it reaches maximum capacity. Be sure your healer is vigilant for this ability, as it inflicts significant damage to the entire group and also awakens all the Hungry Lashers. For more information on the encounter, refer to the details provided below:
All Roles
- Stack together and move in one direction when
 Germinate cast is going through. This will allow you to cleave down all the Hungry Lasher much faster.
 - Sidestep the
 Branch Out cast.
 - Interrupt the Ancient Branch‘s
 Healing Touch at all cost.
 - On Mythic difficulty, upon killing the Ancient Branch, it will cast
 Abundance, healing all allies and players within 8 yards and removing all applications of the
  Splinterbark
  Bleed. Time its death when all the Hungry Lasher are close to dying or dead to prevent them from healing to full health.
Tank
- Use active mitigation once you see the boss casting
 Barkbreaker on you.
 - Taunt the Ancient Branch as soon as it spawns.
- Once the boss casts
 Burst Forth, collect threat on every one of the awakened Hungry Lashers. On Mythic difficulty, they will have a special
  Poison attack called
  Lasher Toxin; it is extremely important to pick up threat quickly and nuke them.
 - Use defensive cooldowns when Burst Forth cast is about to happen.
Healer
- On Mythic difficulty, as soon as the boss casts Ancient Branch, it will also apply the Splinterbark Bleed effect to the entire party. You want to make sure people are topped up at all time especially before Burst Forth is cast.
- Be ready to top up your party once the boss casts Burst Forth.
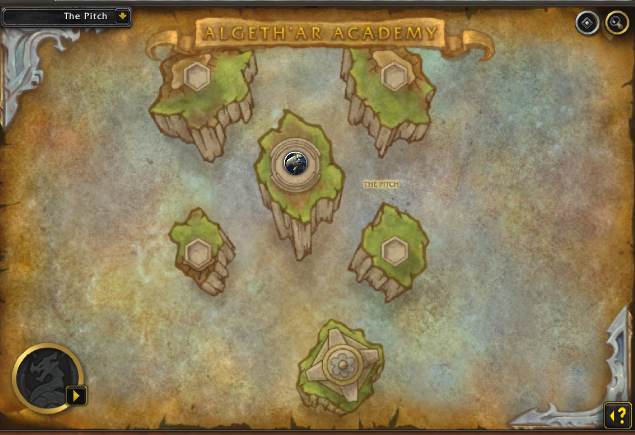
The Pitch and Crawth
Notable Trash Before Crawth
After defeating Overgrown Ancient, proceed straight ahead and utilize the invisible bridge to reach the central platform. There, you’ll encounter the only “mini-boss” in the entire dungeon, the Guardian Sentry. Here are some crucial details to keep in mind during this encounter:
- Guardian Sentry has a lot more health than a regular mob, hence why we refer to it as a “mini-boss”.
- Avoid the
 Deadly Winds ground animation at all times. After the initial hit, the tornado will circle around for several seconds before disappearing; avoid getting in contact with it.
 - Run away from
 Expel Intruders; the cast will knock you back and do high damage. You can also line-of-sight the damage, even if you are still in the circle but behind one of the nearby walls.
 - Your tank must be careful with the
 Storm Slash “tank-buster” ability; it is best to use active mitigation if they are low health.
After defeating the Guardian Sentry, you can make your way towards the area where Crawth is situated. However, keep in mind that this boss has an activation process that involves clearing three waves of Territorial Eagles and Alpha Eagles. Here’s what you need to know about these creatures:
- Territorial Eagle has only one ability, which always goes on the highest threat target (your tank) —
 Peck. It does initial damage and applies a stackable Bleed effect.
 - At first, Alpha Eagle will not be present; they will come in Waves 2 and 3, after you have defeated the initial Territorial Eagle spawns. They have an important
 Gust frontal ability to sidestep and a
  Call of the Flock buff, which you must interrupt at all costs.
Crawth Boss Guide
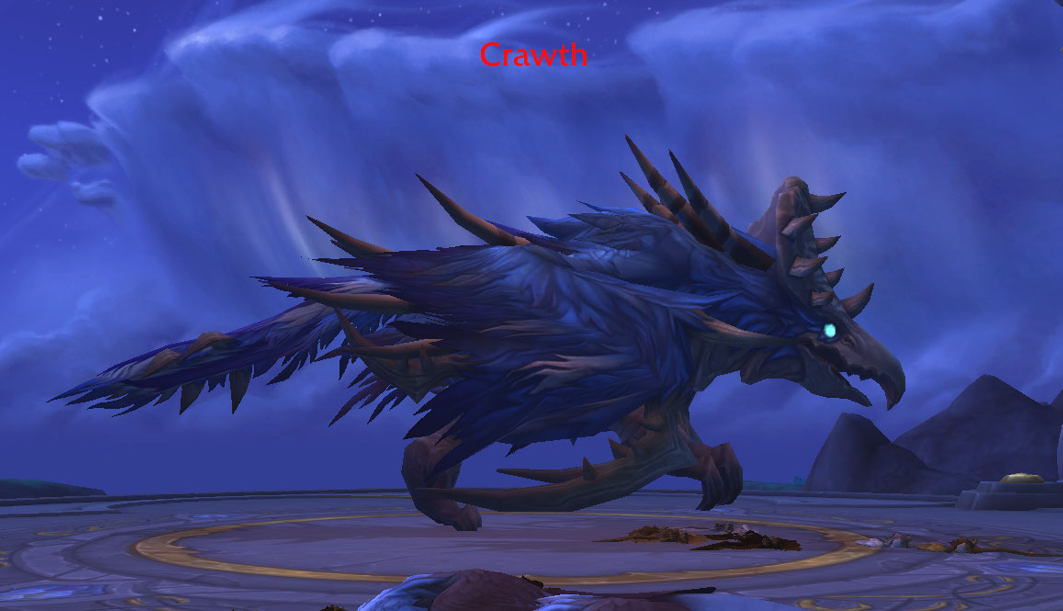
To activate the Crawth boss encounter, you need to toss three Play Ball! items into the fire ring, which will cause the boss to appear. It’s crucial to understand how Play Ball! functions: by throwing in three items, you’ll gain either Goal of the Searing Blaze or Goal of the Rushing Winds, each providing temporary buffs but also ramping up the difficulty of the fight. The boss will activate the Goals at 75% and 45% HP. Check out the following detailed overview of the encounter:

All Roles
- Dodge the
 Overpowering Gust frontal.
 - Once the boss reaches 75% and 45% HP it will be time to score goals and trigger either
 Goal of the Rushing Winds or Goal of the Rushing Winds.
 - Upon throwing the 3 orbs towards the
 Goal of the Searing Blaze, it will trigger a
  Firestorm cast, making Crawth take 75% increased damage for 12 sec, but also casting fire motes on the ground (avoid them!). On Mythic difficulty,, after the goal is scored, Firestorm continues to barrage the arena until the end of the fight.
 - If you decide first to score goals towards Goal of the Rushing Winds, you will trigger Gale Force reaction, granting you 45% Haste and 50% movement speed for 20 sec. However, you will summon Roving Cyclones until the end of the fight. On Mythic difficulty, after a goal is scored, the Gale Force winds will continue until the end of the fight.
- Eventually, you will have both Goal of the Rushing Winds and Goal of the Searing Blaze active, and the whole fight will become messy, but here is our advice: Activate the Goal of the Searing Blaze first, and time your cooldowns with the damage increase effect, then delay Goal of the Rushing Windsas much as you can, since having both the negative effects at the same time will make this fight hell!
Tank
- Use active mitigation when Crawth is casting
 Savage Peck.
Healer
- Be ready to top your teammates when Crawth is casting
 Deafening Screech. On Mythic difficulty, there will be a follow-up stackable effect called Sonic Vulnerability, and the only way to clear the stacks is by scoring a “goal” to either Goal of the Rushing Winds or Goal of the Searing Blaze.
Algeth’ar Academy and Vexamus
Notable Trash Before Vexamus
- Corrupted Manafiend is the first trash mob you are going to face. It has several abilities to interrupt, such as
 Surge and
  Mana Void, but none of them are life threatening. Dump your spare interrupts to stop those casts.
 - Arcane Forager is another mob you should not worry about, as it only casts
 Vicious Lunge on a random target, doing a tiny bit of damage.
 - Arcane Ravager has the most health out of all the mobs in this area. It always charges the furthest target from your group with
 Vicious Ambush and it has a deadly channeled frontal ability called
  Riftbreath. Dodge it at all costs!
 - Spellbound Battleaxe is going to be a tough mob for your tank due to
 Severing Slash; not only it will deal an initial damage to them, but it will add a harsh follow-up Bleed effect.
 - Spellbound Scepter is the most dangerous mob in this area. You should watch out for its Mystic Blast, which does AoE damage to everyone in your party. Occasionally, the mob will also cast
 Arcane Rain; side step them at all costs, they do high damage upon contact!
 - Finally we have the Unruly Textbook, with the only important cast to stop being
 Monotonous Lecture. It will crowd-control you for a long time if not stopped.
Vexamus Boss Guide

After clearing the three packs of mobs, Professor Maxdormu will start casting Recall History, which will summon Vexamus. The boss fight is relatively straightforward; it generates Energy passively, gaining more by absorbing any Mana Bombs. Once it reaches 100 Energy, it will unleash a potent cast called Arcane Fissure, which is an excellent time to use your personal defensives.
All Roles
- Professor Maxdormu will occasionally spawn 5
 Arcane Orbs, which will slowly travel towards Vexamus. Do not let it soak them, since it will deal AoE damage to your entire group and add 20 Energy to its bar. You can either decide for each party member to take an Arcane Orb with a defensive or let your tank soak most of them. On Mythic difficulty, you will also receive an Oversurge debuff upon soaking an orb, so watch out!
 - Avoid the
 Corrupted Mana pool, coming from the last tick of the Mana Bombs, it will deal damage and slow you every second you spend in it.
 - Sidestep the Arcane ground pools after the
 Arcane Fissure pushback.
Tank
- You can soak several Arcane Orbs, but beware of the initial damage; here will be a good place to use your active mitigation.
- Aim the Arcane Expulsion frontal away from your team.
Healer
- Beware of the Mana Bombs cast. It will always go on a random 3 players from your party and deal damage-over-time. Top up your teammates quickly!
- Use your healing cooldowns once the boss casts Arcane Fissure.
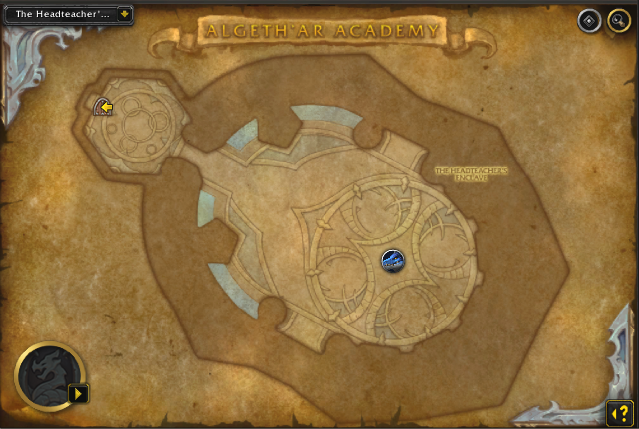
The Headteacher’s Enclave and Echo of Doragosa
Notable Trash Before Echo of Doragosa
After defeating Vexamus, proceed to The Headteacher’s Enclave, where the final boss of the dungeon, Echo of Doragosa, resides. The trash mobs in this area are relatively easy to handle, making it a good spot to increase your enemy forces count if you plan on running this dungeon on Mythic+ difficulty. A more comprehensive analysis of each trash mob and their abilities can be found below.
- Watch out for
 Astral Whirlwind coming from Algeth’ar Enforcer; this will be a dangerous mob for all melee players.
 - Algeth’ar Security‘s
 Disrupting Pulse is an incredibly powerful AoE damage ability, though you can line-of-sight the cast and avoid the damage. Keep in mind that you cannot interrupt it and if you do use stuns to stop it, it will simply recast the ability.
 - Algeth’ar Educator is one of the mobs you will love to have in each pack because of its
 Astral Bomb working on enemy mobs. Simply stay with the bomb near them and they will take the full damage. They also have an
  Arcane Missiles cast that must be stopped.
 - Finally, we have the Algeth’ar Nurse, with the only important cast to watch out for being their
 Celestial Shield. The mob will always cast this when they are at low health, you will not be able to interrupt it and, upon stopping it with stun/disruption effects, it will recast. It is best if you just use Purge effects to remove it.
Echo of Doragosa Boss Guide

Echo of Doragosa’s Energy bar will regenerate naturally, and once it reaches 100 Energy, the boss will cast Astral Breath. It’s crucial to understand how the Overwhelming Power debuff functions. This debuff gives you a 5% damage increase per stack, up to a maximum of four stacks. However, if you reach the maximum stacks, you will trigger Arcane Rift, which removes all your stacks and periodically casts Uncontrolled Energy, making the fight more challenging. To optimize your damage output, try to have only 1-2 stacks of Overwhelming Power deliberately. Keep in mind that each of Echo of Doragosa’s abilities grants you a stack of the debuff. You can find a more detailed breakdown of the fight below:
All Roles
- Use a personal defensive when you get an
 Energy Bomb cast on you.
 - Run away from Power Vacuum at all cost.
- Avoid the
 Astral Breath frontal ability; failing to do so will likely kill you.
 - Make sure to have a few stacks of
 Overwhelming Power just so you can speed up the boss fight. Account for unavoidable damage, since each of Echo of Doragosa‘s abilities will apply a stack of the debuff. The worst thing you can do is spawn Arcane Rift out of pure greed.
Tank
- Tank the boss in one of the corners and be conservative with the space; this fight can become a nightmare if multiple spawns of Arcane Rift are on the field.
Healer
- Spot-heal the target that gets the Energy Bomb.
- The boss will occasionally cast Arcane Missiles on a random target, so top them up quickly!
Algeth’ar Academy Loot Table
Overgrown Ancient
| Type | Item | Stats |
|---|---|---|
| 2H Axe | Str, Mastery/Vers | |
| Mail Feet | Crit/Haste | |
| Cloth Hands | Vers/Crit | |
| Leather Wrist | Haste/Mastery | |
| Warglaive | Vers/Crit | |
| Back | Haste/Vers |
Crawth
| Type | Item | Stats |
|---|---|---|
| Mail Waist | Vers/Mastery | |
| Cloth Chest | Mastery/Crit | |
| Trinket | Str | |
| Trinket | Int | |
| Staff | Agi, Crit/Vers | |
| Leather Hands | Vers/Mastery |
Vexamus
| Type | Item | Stats |
|---|---|---|
| Finger | Crit/Mastery | |
| 1H Sword | Str, Haste/Vers | |
| 1H Sword | Int, Haste/Mastery | |
| Off-Hand | Crit/Haste |
Echo of Doragosa
| Type | Item | Stats |
|---|---|---|
| Trinket | Agi/Str | |
| Plate Chest | Vers/Crit | |
| Staff | Int, Mastery/Haste | |
| Cloth Head | Crit/Haste | |
| Mail Shoulder | Mastery/Crit | |
| Plate Legs | Vers/Crit |
Algeth’ar Academy Achievements
There are 8 total achievements to obtain in Algeth’ar Academy:
| Achievement | Criteria |
|---|---|
| Defeat the Echo of Doragosa in Algeth’ar Academy | |
| Defeat the Echo of Doragosa in Algeth’ar Academy on | |
| Defeat the Echo of Doragosa in Algeth’ar Academy on | |
| Defeat Echo of Doragosa in Algeth’ar Academy on | |
| Complete Algeth’ar Academy at | |
| Defeat the Overgrown Ancient while all party members have a Well-Fed Duckling on their head in Algeth’ar Academy on | |
| Defeat Vexamus without players absorbing any | |
| Defeat Crawth after simultaneously activating both Goals in Algeth’ar Academy on |


