


Atal'Dazar Dungeon Guide: Location, Boss Strategies, Trash, and Loot
Atal'Dazar Dungeon Guide: Location, Boss Strategies, Trash, and Loot
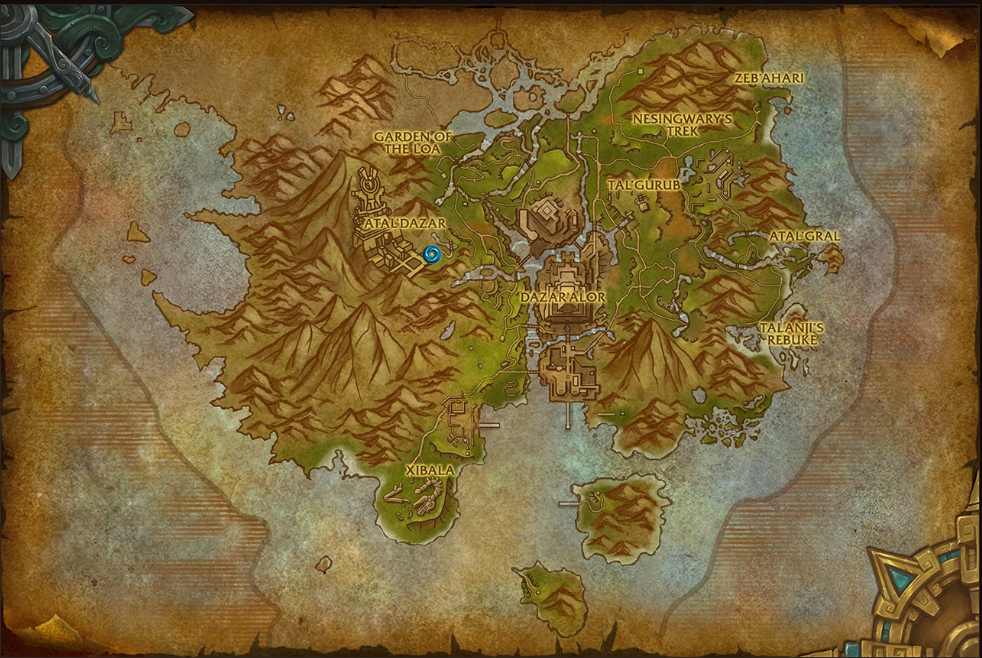
Getting into Atal’Dazar
Atal’Dazar is a high-level dungeon located in the region of Zuldazar, within the continent of Zandalar. It offers challenging encounters and is accessible in both Mythic and Mythic+ modes for seasoned adventurers.
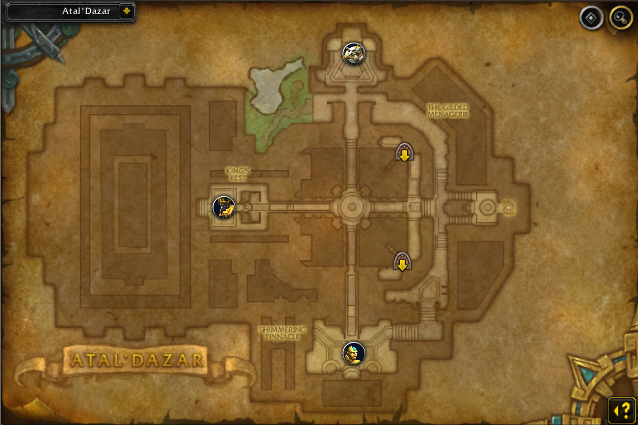
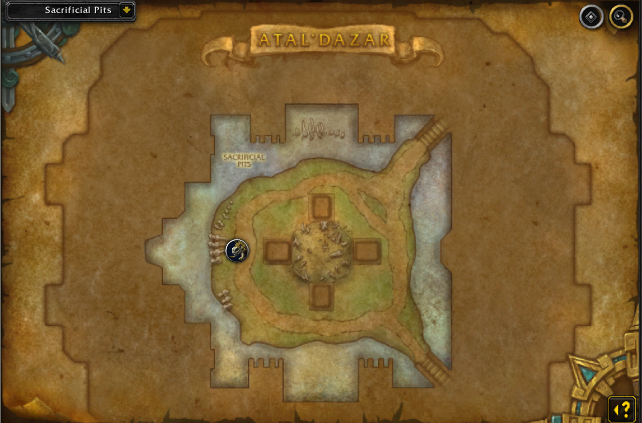
Atal’Dazar Layout
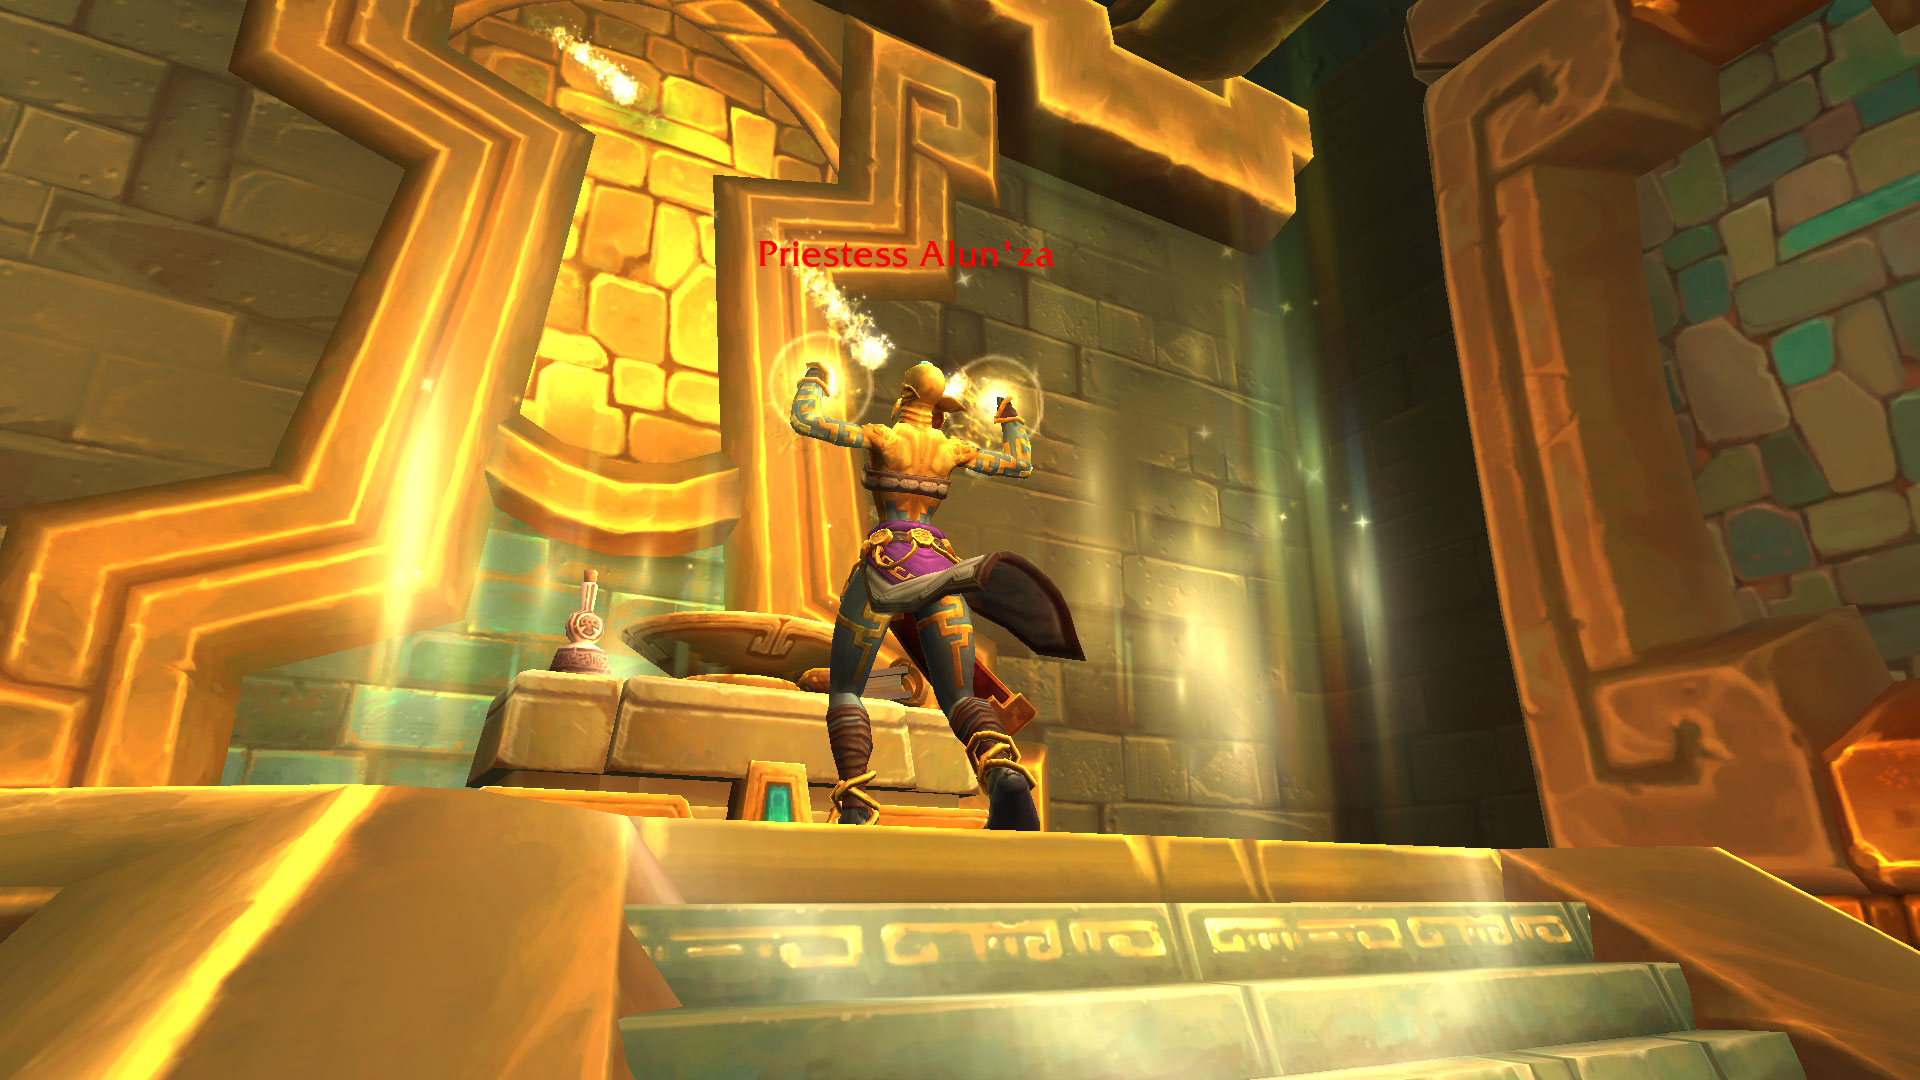
Priestess Alun’za
Before facing Priestess Alun’za, be cautious of the following trash mobs:
- Dazar’ai Juggernauts: These mobs will cast Merciless Assault on players outside of melee range. Assign a player to bait the charge and swiftly avoid it. Dispel Enrage effects from Fanatic’s Rage.
- Dazar’ai Confessors: Focus on interrupting their Mending Word cast to prevent healing. Stop Bwonsamdi’s Mantle to avoid crowd control immunity in the area.
- Dazar’ai Honor Guards: Tanks should watch out for their Fervent Strike ability.
- Dazar’ai Augurs: Interrupt their Wildfire cast. If Dazar’ai Juggernauts are present, prioritize stopping their Fiery Enchant cast, as it’s dangerous.
- Dazar’ai Colossus: If engaged, prioritize killing them first due to their Soulforge Construct passive. Use defensives during Soulburn cast.
- Gilded Priestesses: Stand in Tainted Blood pools to damage them with Transfusion. If they aren’t debuffed, they will heal instead.
Regarding the Priestess Alun’za encounter:
Priestess Alun’za’s fight revolves around managing Transfusion and Tainted Blood mechanics. Tanks should be aware of Gilded Claws, which can be purged, while healers must promptly dispel Molten Gold. Decide whether to crowd-control or kill Spirit of Gold spawns, ensuring they don’t reach Tainted Blood circles to maximize Transfusion damage to the boss.
Before facing Priestess Alun’za, exercise caution with the following groups of mobs:
- Dazar’ai Juggernauts: These mobs will cast Merciless Assault on players outside of melee range. Assign a player to bait the charge and swiftly avoid it. Dispel Enrage effects from Fanatic’s Rage.
- Dazar’ai Confessors: Focus on interrupting their Mending Word cast to prevent healing. Stop Bwonsamdi’s Mantle to avoid crowd control immunity in the area.
- Dazar’ai Honor Guards: Tanks should watch out for their Fervent Strike ability.
- Dazar’ai Augurs: Interrupt their Wildfire cast. If Dazar’ai Juggernauts are present, prioritize stopping their Fiery Enchant cast, as it’s dangerous.
- Dazar’ai Colossus: If engaged, prioritize killing them first due to their Soulforge Construct passive. Use defensives during Soulburn cast.
- Gilded Priestesses: Stand in Tainted Blood pools to damage them with Transfusion. If they aren’t debuffed, they will heal instead.
Regarding the Priestess Alun’za encounter:
Priestess Alun’za’s fight revolves around managing Transfusion and Tainted Blood mechanics. Tanks should be aware of Gilded Claws, which can be purged, while healers must promptly dispel Molten Gold. Decide whether to crowd-control or kill Spirit of Gold spawns, ensuring they don’t reach Tainted Blood circles to maximize Transfusion damage to the boss.
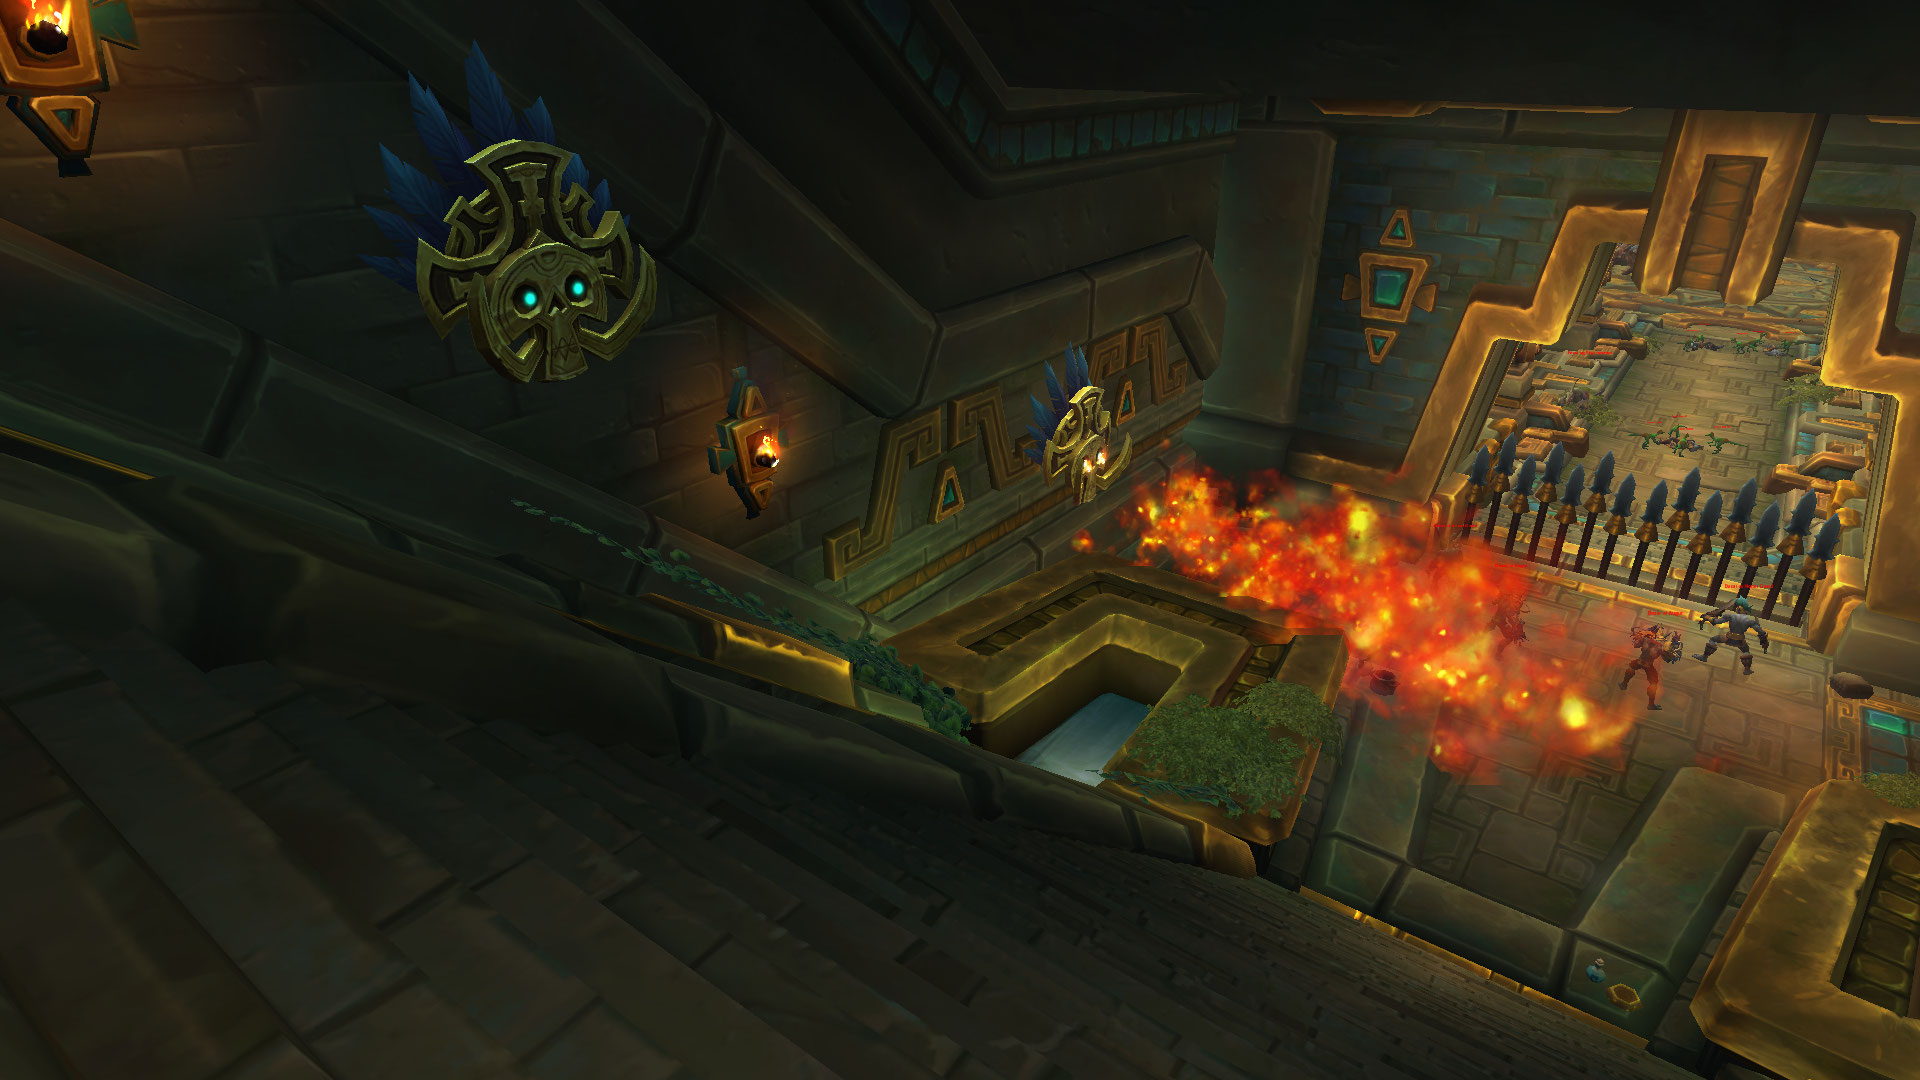
Rezan
Notable Trash Before Rezan
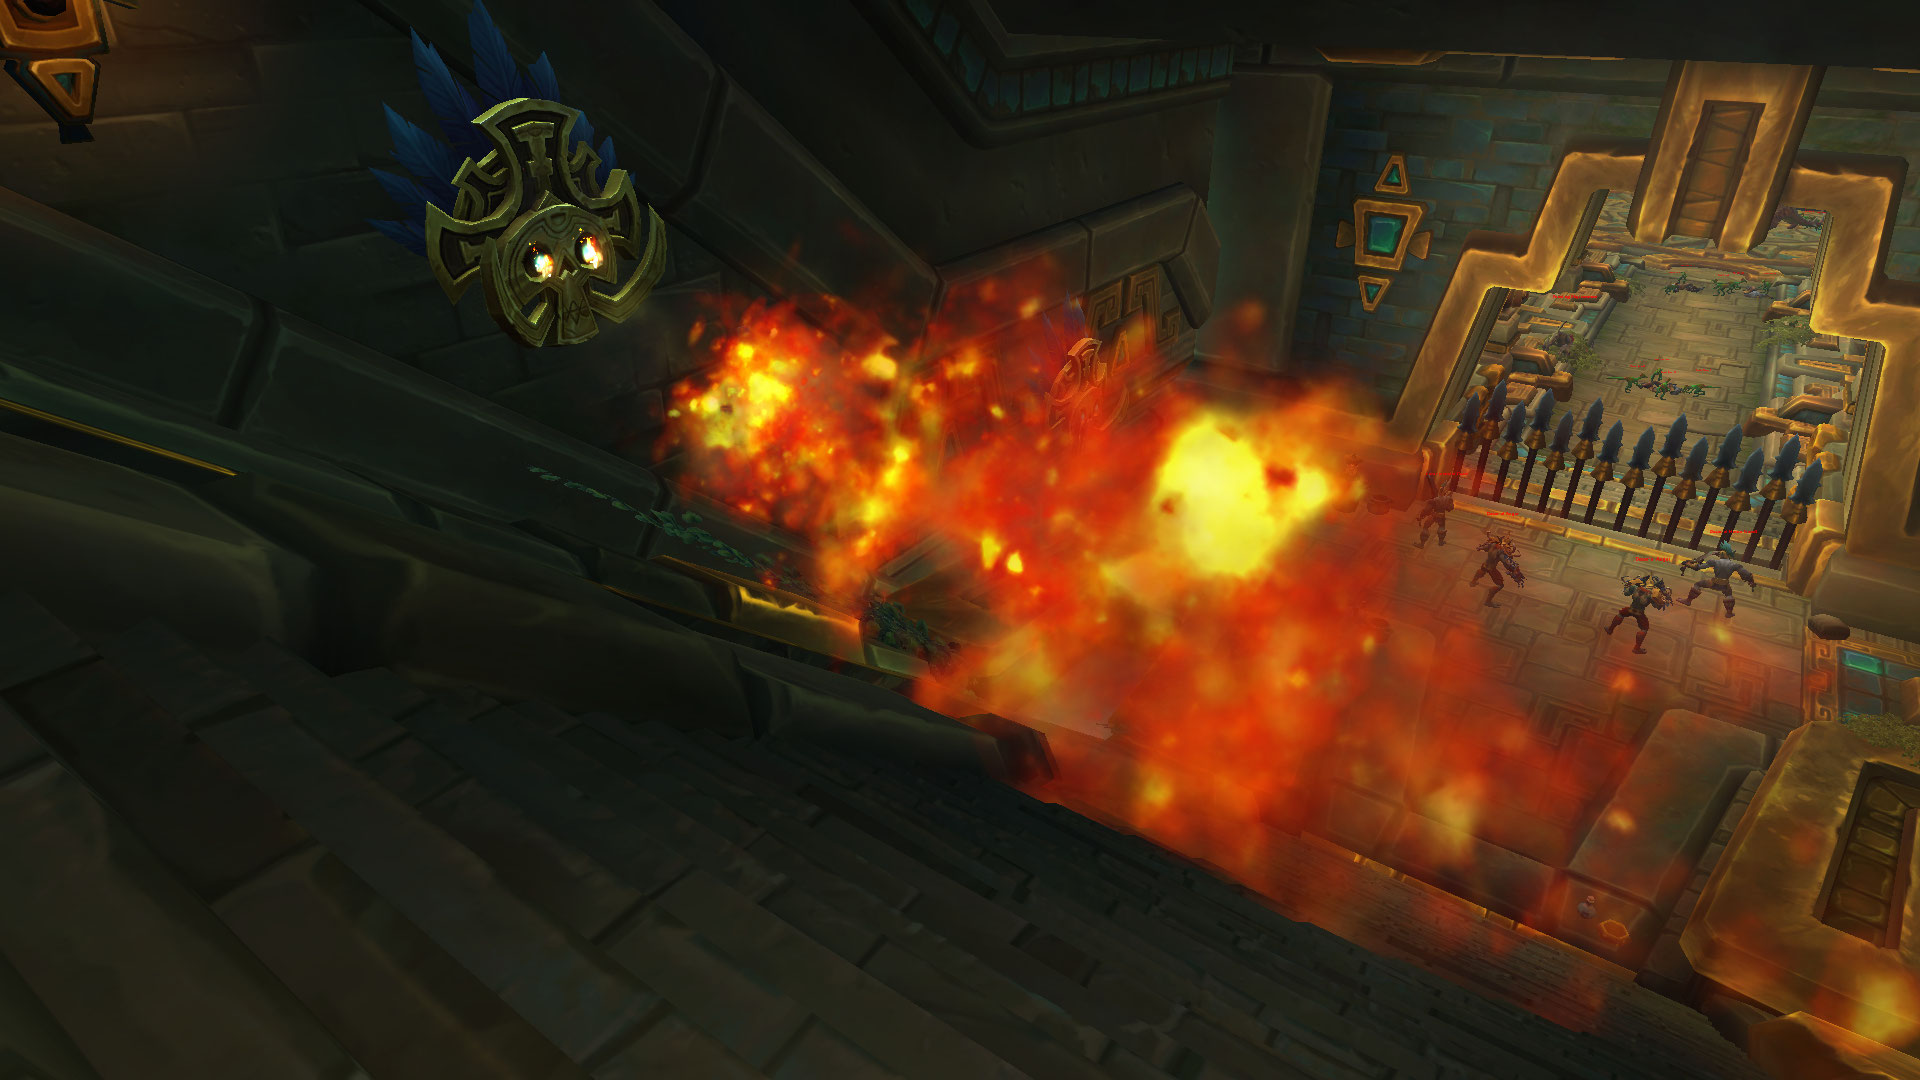
First, beware of the ![]() Tiki Blaze leading to Rezan as the higher the key, the higher the likelihood of them being lethal.
Tiki Blaze leading to Rezan as the higher the key, the higher the likelihood of them being lethal.
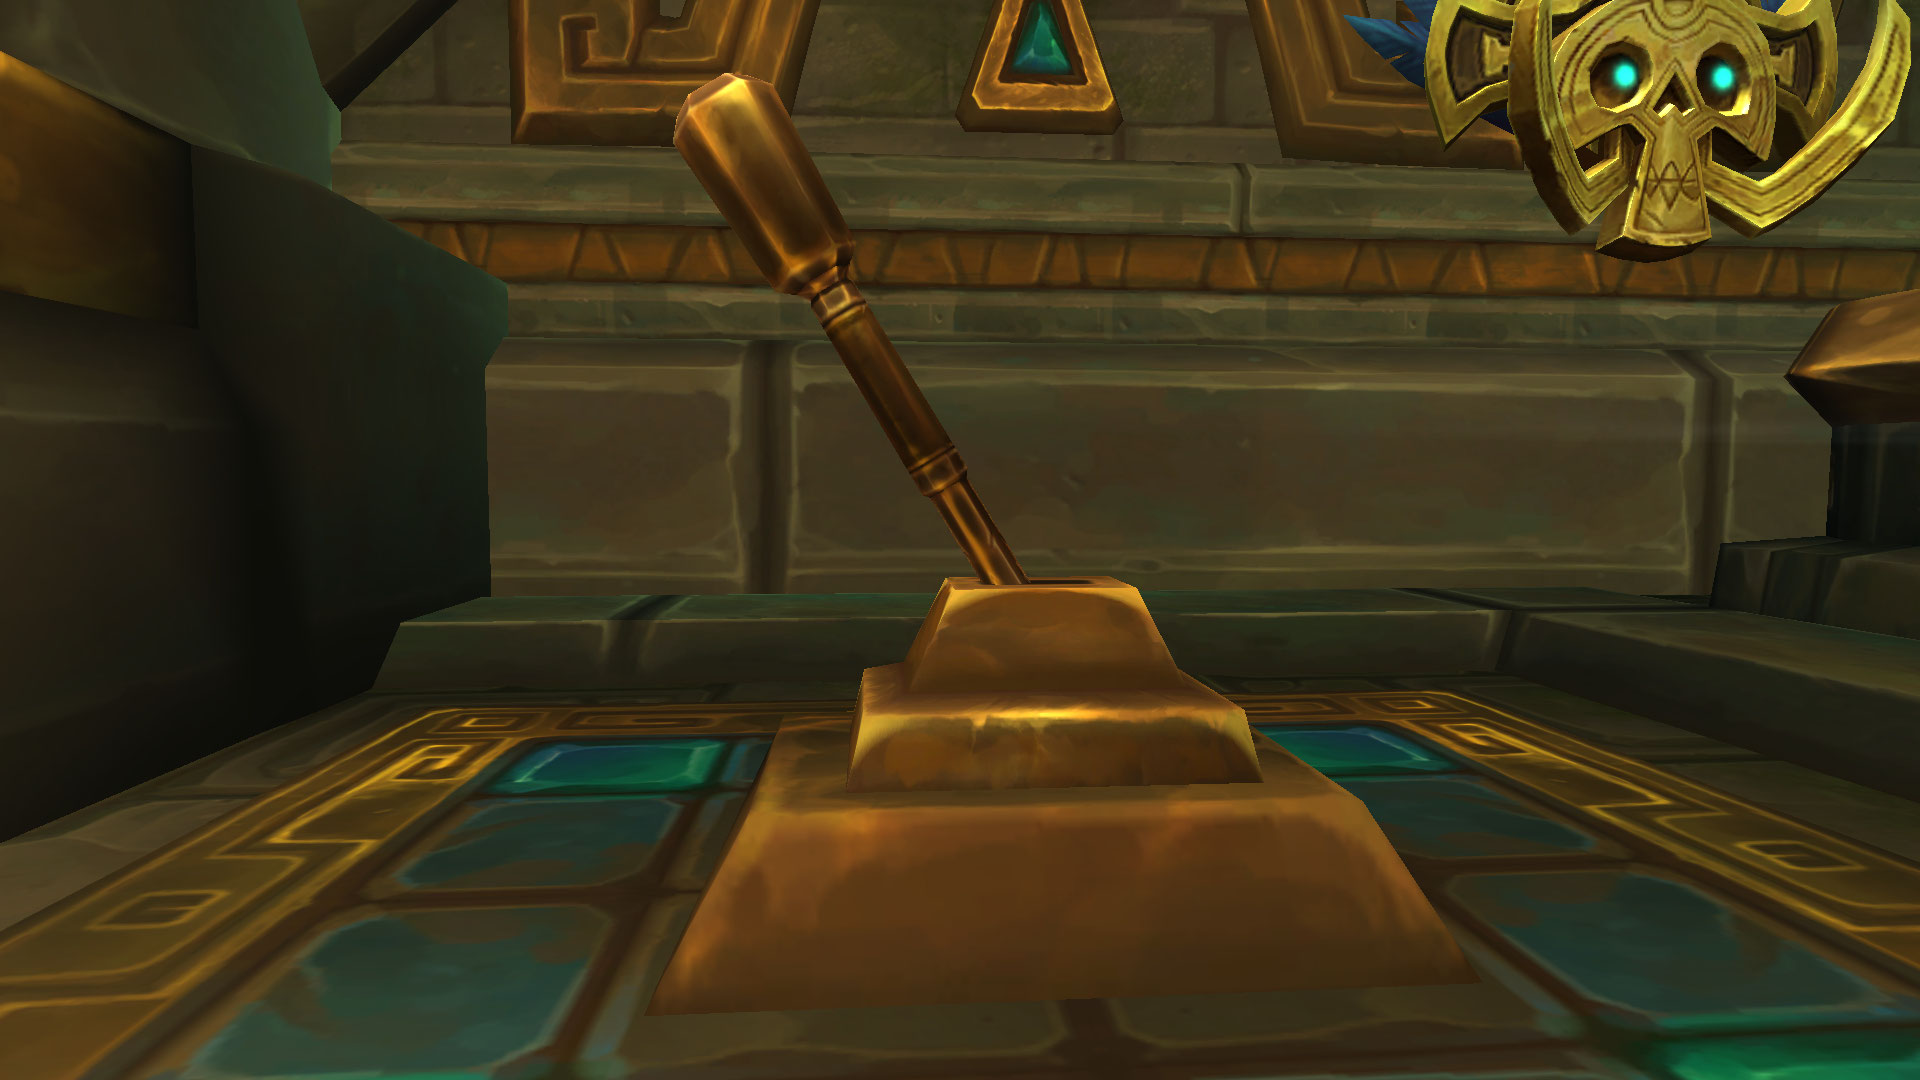
Regardless of which path you choose, you will have to play around Ancient Switch, making sure you use the leverage to open the gates and continue forward. The path will be otherwise locked.
Toxic Saurids will intermittently perform Leaping Thrash, targeting a random party member with damage. It’s advisable to use defensive cooldowns proactively, especially if someone is low on health.
Interrupt Feasting Skyscreamer’s Terrifying Screech to prevent fear effects on your party.
Ensure to interrupt Dinomancer Kish’o’s Dino Might; failing the interrupt can be compensated by purging it. Additionally, they consistently cast Quickshot on your tank and Deadly Aim on a random party member. Focus on eliminating this mob first.
Apart from Dinomancer Kish’o, you’ll encounter Monzumi and T’lonja. Monzumi unleashes Wild Thrash, dealing significant physical damage to everyone within an 8-yard radius (stay out of melee range), while T’lonja targets a random player with Frenzied Charge. Avoid intersecting the charge’s path to prevent multiple players from taking damage and getting stunned.
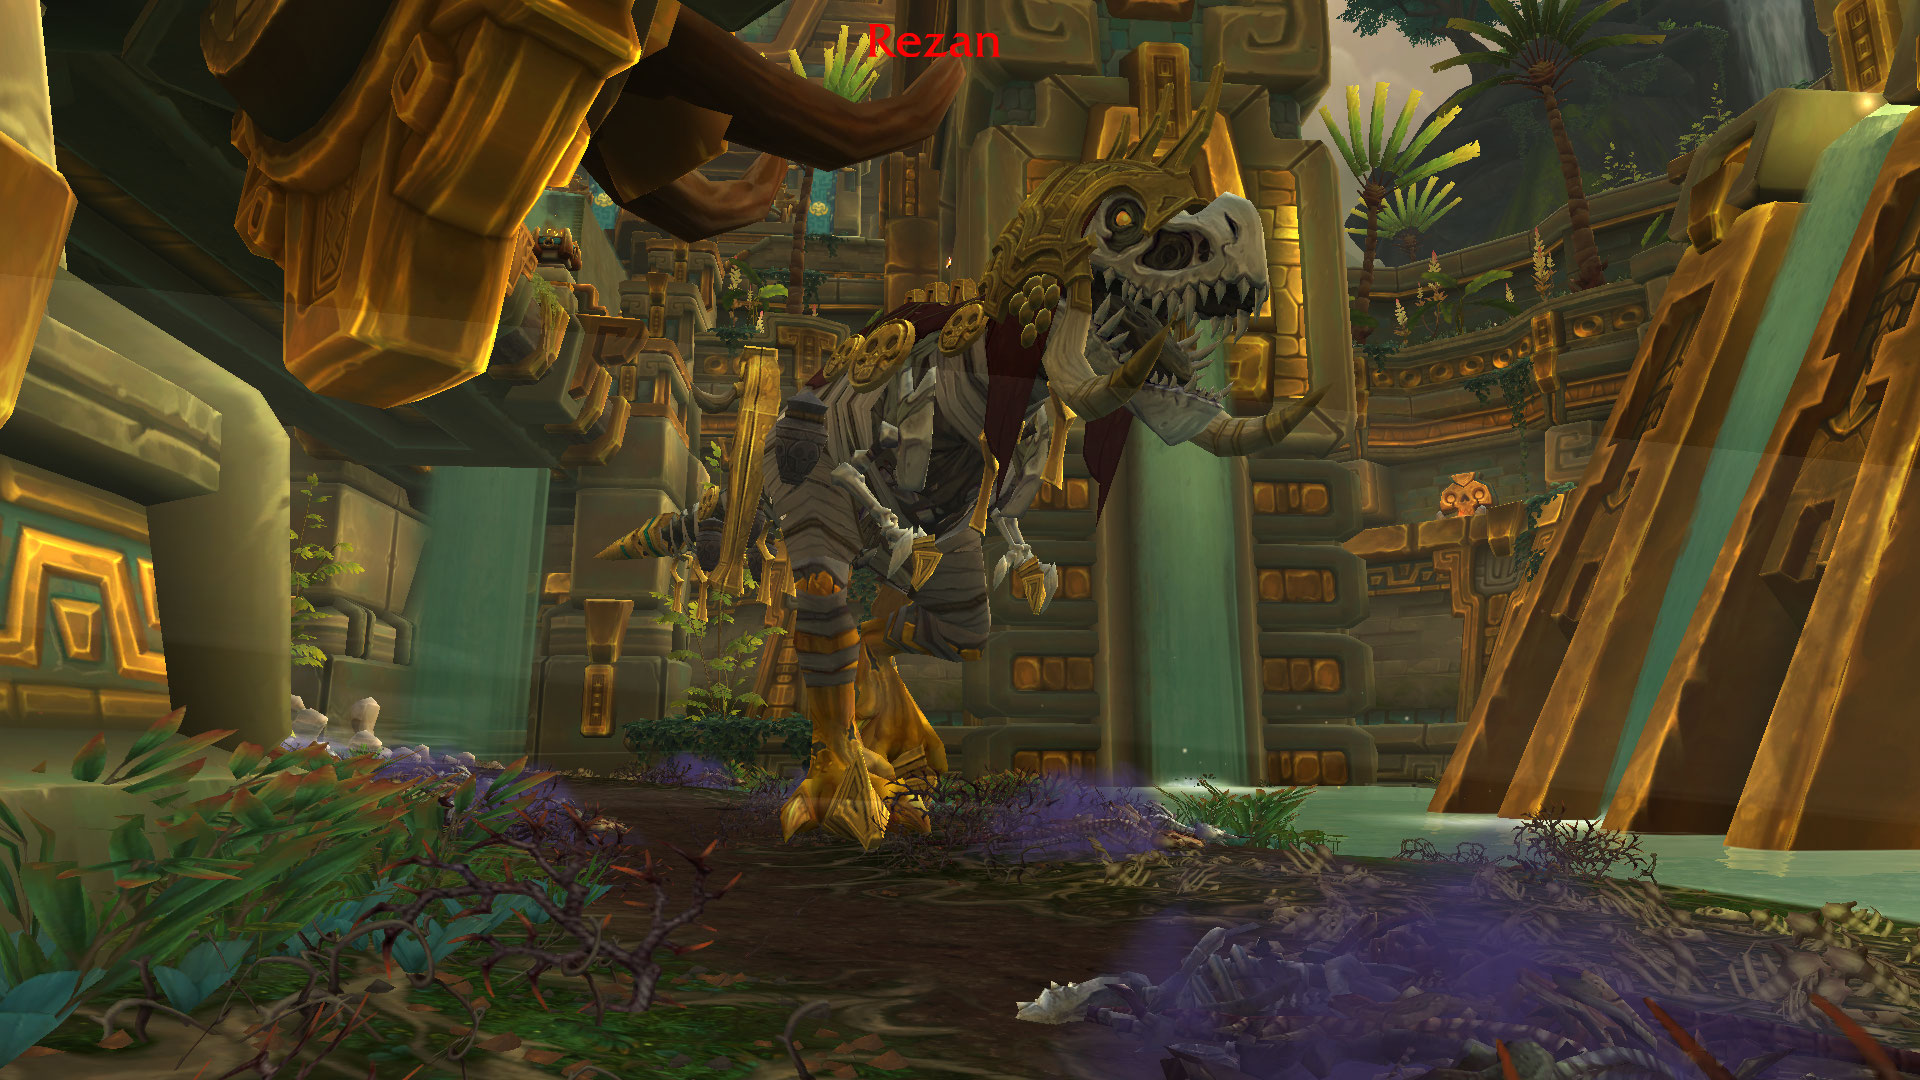
Rezan Boss Guide
When facing Rezan, remember to avoid stepping on any nearby Pile of Bones to prevent triggering the Ancient Dry Bones cast, which summons a Reanimated Raptor. Despite their melee attacks, these Raptors pose a challenge for your tank. Speaking of which, tanks must be vigilant against the Serrated Teeth Bleed effect, especially in higher key levels where it inflicts severe damage. Additionally, the group can opt to either use line of sight behind pillars to evade Terrifying Visage or utilize immunity to prevent Fear. If line of sight isn’t feasible, dispel the fear. Finally, if anyone is targeted by Pursuit, ensure they kite away from the boss to avoid being Devoured. Be cautious not to lead Rezan over any nearby Pile of Bones to prevent Reanimated Raptor spawns!
All Roles
- Steer clear of any Pile of Bones.
- When targeted by Pursuit, kite away from the boss to avoid being Devoured.
- Employ line of sight tactics to avoid Terrifying Visage casts.
Tank
- Activate major defensive cooldowns to mitigate the Serrated Teeth Bleed effect.
Healer
- Provide spot healing to the tank during the Serrated Teeth Bleed effect.
- Dispense fear dispels if party members are unable to reach line of sight pillars to evade Terrifying Visage.
Vol’kaal
Notable Trash Before Vol’kaal
- Interrupt Venom Blast from Zanchuli Witch-Doctors and prevent Unstable Hex crowd control.
- Prioritize killing the Reanimation Totem first when engaging Reanimated Honor Guards to prevent healing and continuous party damage from Rotting Decay. Watch out for the Rending Maul Bleed effect on the tank.
- Use crowd control effects to halt Bulwark of Juju from Shieldbearers of Zul. Tanks should be cautious of Shield Bash, which not only deals damage but also interrupts.
Shadowblade Stalkers pose a threat to tanks with their Venomfang Strike Poison and Venom-Tipped Blade combo.
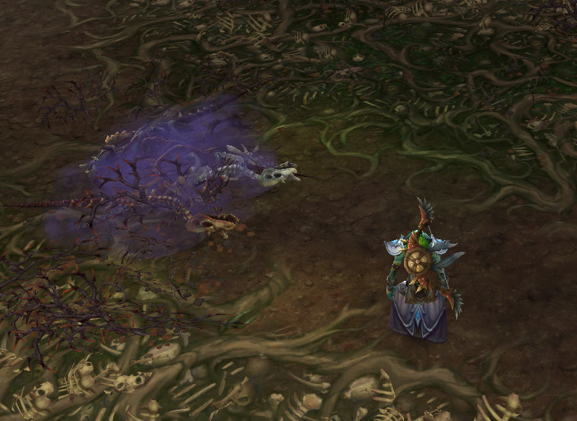
Vol’kaal Boss Guide
- In Phase 1, focus on simultaneously destroying all three Reanimation Totems to prevent them from casting Reanimate and providing healing to Vol’kaal through Bad Voodoo.
- During all phases, interrupt Vol’kaal’s Noxious Stench quickly to avoid accumulating stacks of Lingering Nausea, which results in a Disease effect.
- Avoid standing in Toxic Pools on the ground, and note that Vol’kaal damages himself with Rapid Decay until defeated.

All Roles
Ensure simultaneous destruction of all 3 Reanimation Totems to prevent Reanimate activation.
Avoid Toxic Leap.
Interrupt Noxious Stench.
Use defensive cooldowns to mitigate damage from Lingering Nausea stacks.
Tank
Moderate boss movement in Phase 2 to maintain melee DPS without endangering them with Toxic Pools.
Healer
Deploy major healing cooldowns when multiple Lingering Nausea stacks occur, as the damage can be substantial.
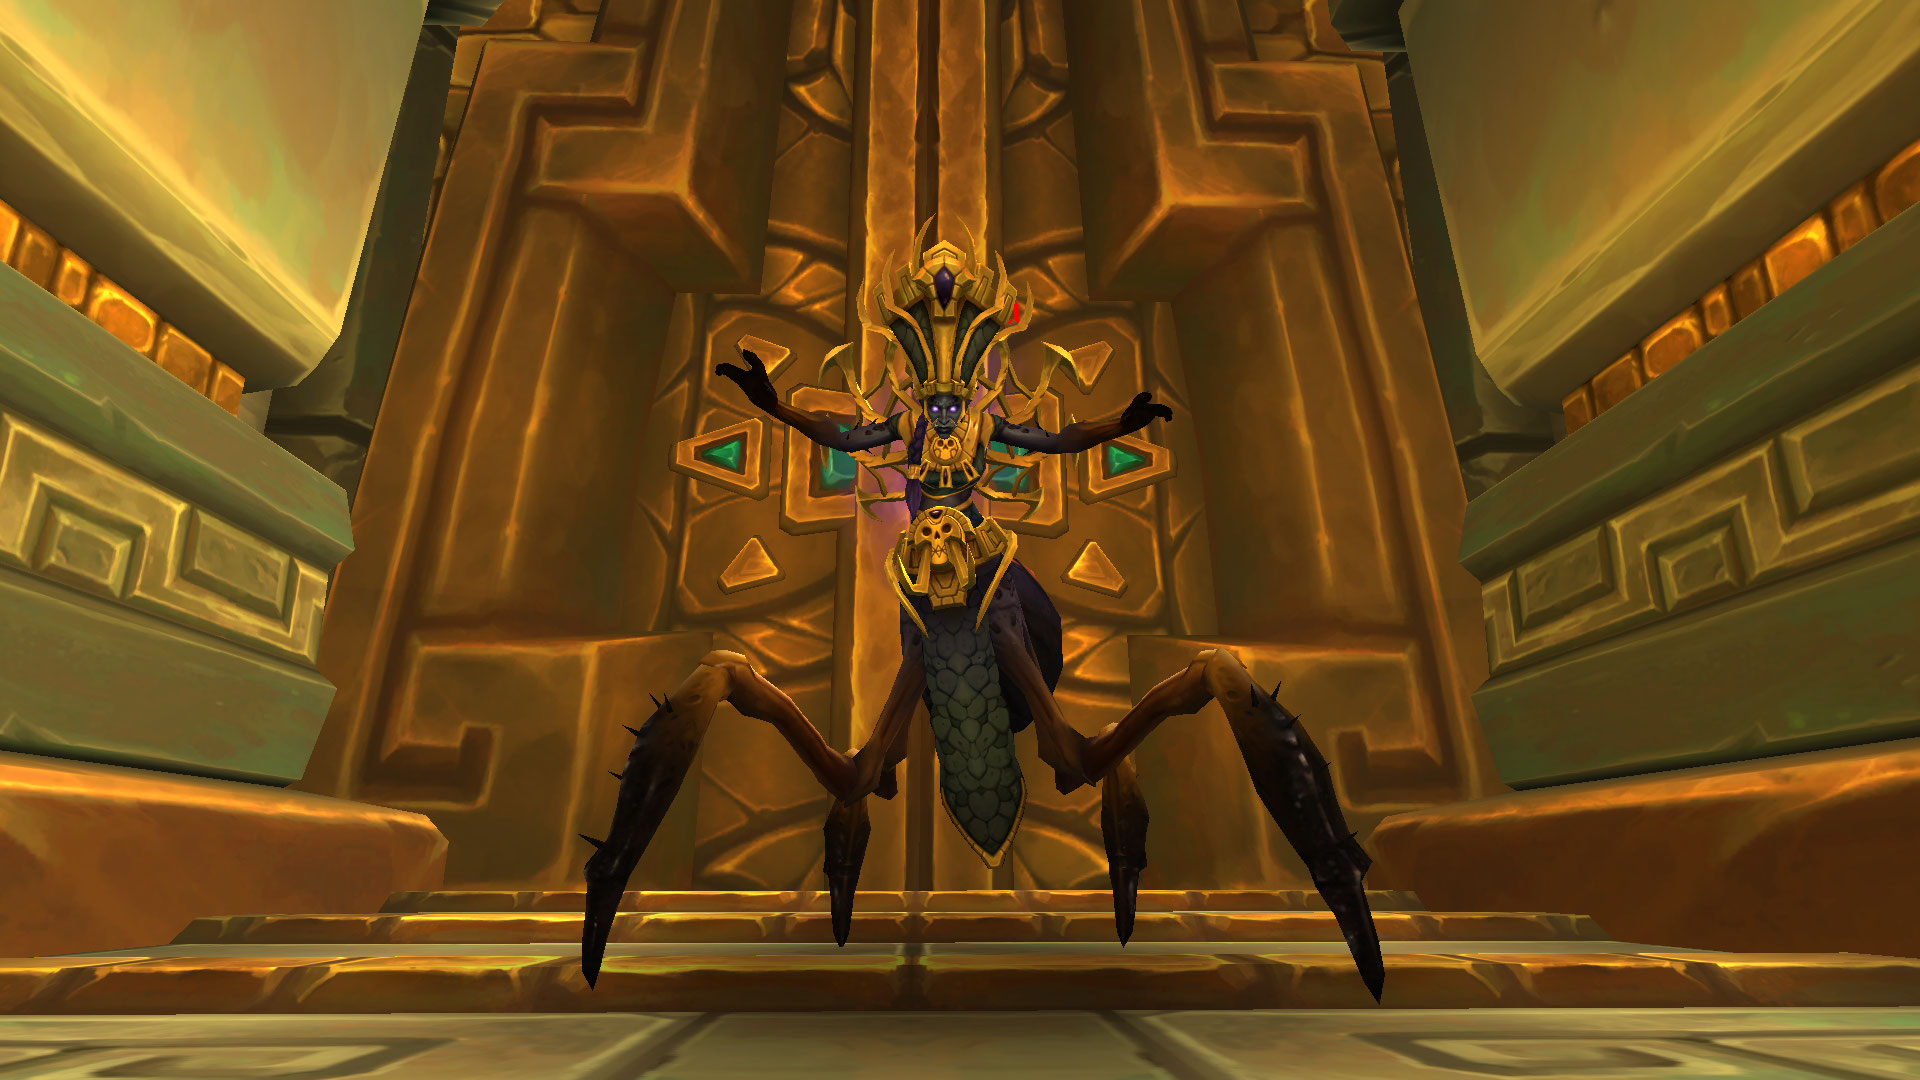
Yazma
Notable Trash Before Yazma
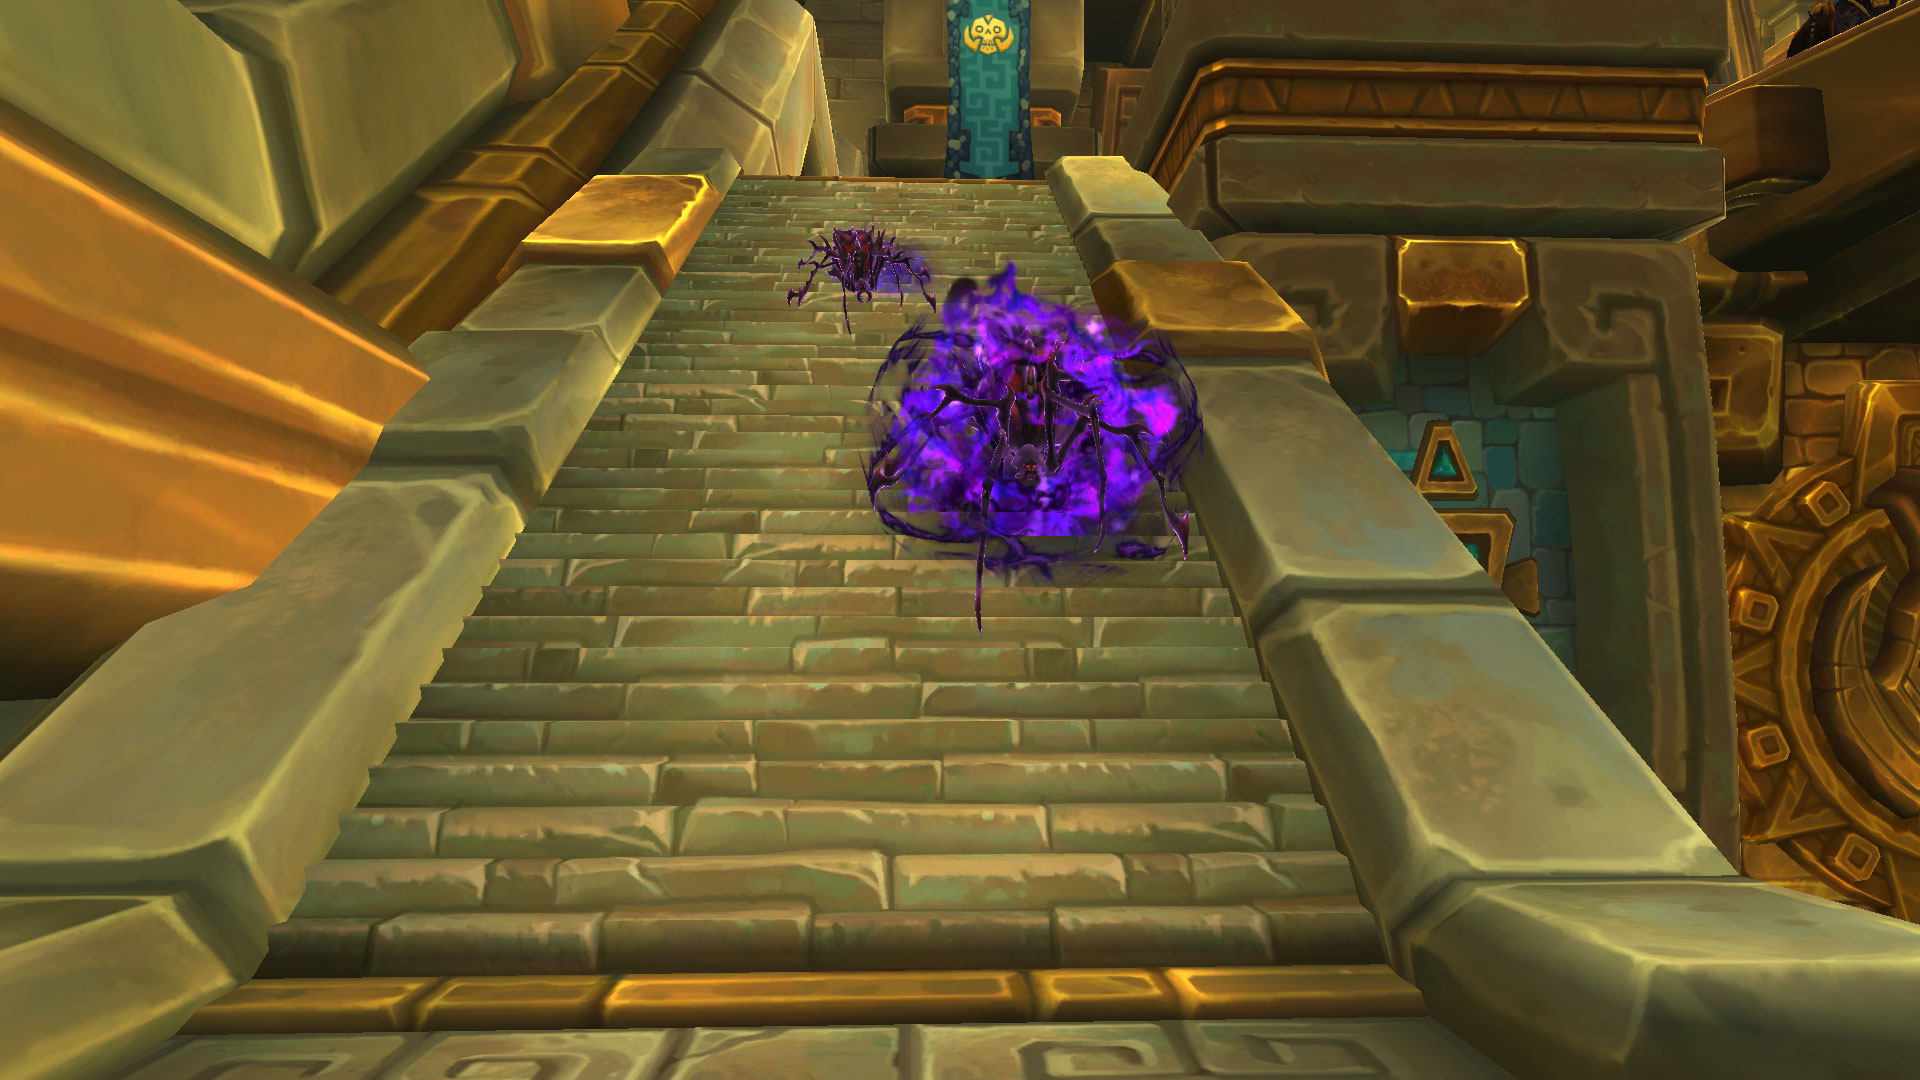
There are no more unique enemies within this area, but remember that you must defeat all 3 previous bosses to reach the final boss of the dungeon, Yazma. As you approach the end, watch out for a wall of spiders that can become increasingly dangerous, particularly at higher key levels.
Yazma Boss Guide
Yazma, the last boss of the dungeon, presents a significant challenge. She has an energy bar that, when full, triggers Soulrend, spawning 4 Soulspawns. The key is to prevent them from reaching Yazma to avoid triggering Soulfeast, a dangerous stackable mass damage-over-time effect. Crowd-control effects and quick elimination of the Soulspawns are crucial here. Watch out for Soul Link and maintain stable health.
Throughout the encounter, Yazma spawns Echoes of Shadra beneath every player. Avoid contact with them to prevent Shadowy Remains damage, which can be lethal in higher-end keys. Always interrupt Wracking Pain, and tanks should use defensive cooldowns during the Skewer tank-buster.
All Roles
Ensure to interrupt Wracking Pain promptly.
Avoid proximity to any nearby Shadowy Remains; maintaining close proximity to each other aids in better management.
Prioritize and eliminate all Soulspawns swiftly, positioning them close together and behind the boss.
Employ defensive cooldowns to mitigate the effects of Soulrend.
Tank
Stay vigilant for the Skewer tank buster ability.
Prepare to reposition the boss if Soulspawns are nearby to prevent triggering Soulfeast.
Healer
Keep party members topped up before each Soulrend cast.
Utilize major healing cooldowns if Soulfeast is triggered.
Atal’Dazar Loot Table
Priestess Alun’za
| Type | Item | Stats |
|---|---|---|
| Wand | Haste/Crit | |
| Off-Hand | Haste/CriT | |
| Mail Wrist | Mastery/Crit | |
| Leather Waist | Haste/Vers | |
| Plate Boots | Crit/Mastery | |
| Trinket | Agi |
Vol’kaal
| Type | Item | Stats |
|---|---|---|
| 1H Mace | Haste/Vers | |
| Back | Haste/Mastery | |
| Cloth Wrist | Haste/Crit | |
| Plate Hands | Mastery/Haste | |
| Leather Legs | Crit/Mastery | |
| Trinket | Int |
Rezan
| Type | Item | Stats |
|---|---|---|
| Fist Weapon | Haste/Mastery | |
| Bow | Mastery/Crit | |
| Shield | Mastery/Haste | |
| Leather Wrist | Vers/Crit | |
| Mail Legs | Vers/Crit | |
| Cloth Boots | Mastery/Crit | |
| Ring | Vers/Haste | |
| Trinket | Str |
Yazma
| Type | Item | Stats |
|---|---|---|
| Dagger | Vers/Haste | |
| Mail Head | Mastery/Crit | |
| Cloth Head | Crit/Vers | |
| Plate Head | Mastery/Vers | |
| Cloth Chest | Crit/Vers | |
| Leather Chest | Mastery/Vers | |
| Plate Wrist | Crit/Vers | |
| Mail Boots | Crit/Haste | |
| Trinket | Int |
Atal’Dazar Achievements
There are 7 total achievements to obtain in Atal’Dazar:
| Achievement | Criteria |
|---|---|
| Defeat Yazma in Atal’Dazar. | |
| Defeat Yazma in Atal’Dazar on | |
| Defeat Yazma in Atal’Dazar on | |
| Complete Atal’Dazar at | |
| Defeat Yazma while all four Shadowflame Scones are lit in Atal’Dazar on | |
| Defeat all four bosses with at least one party member under the effects of |


